Roof Replacement Process: Steps and Timeline
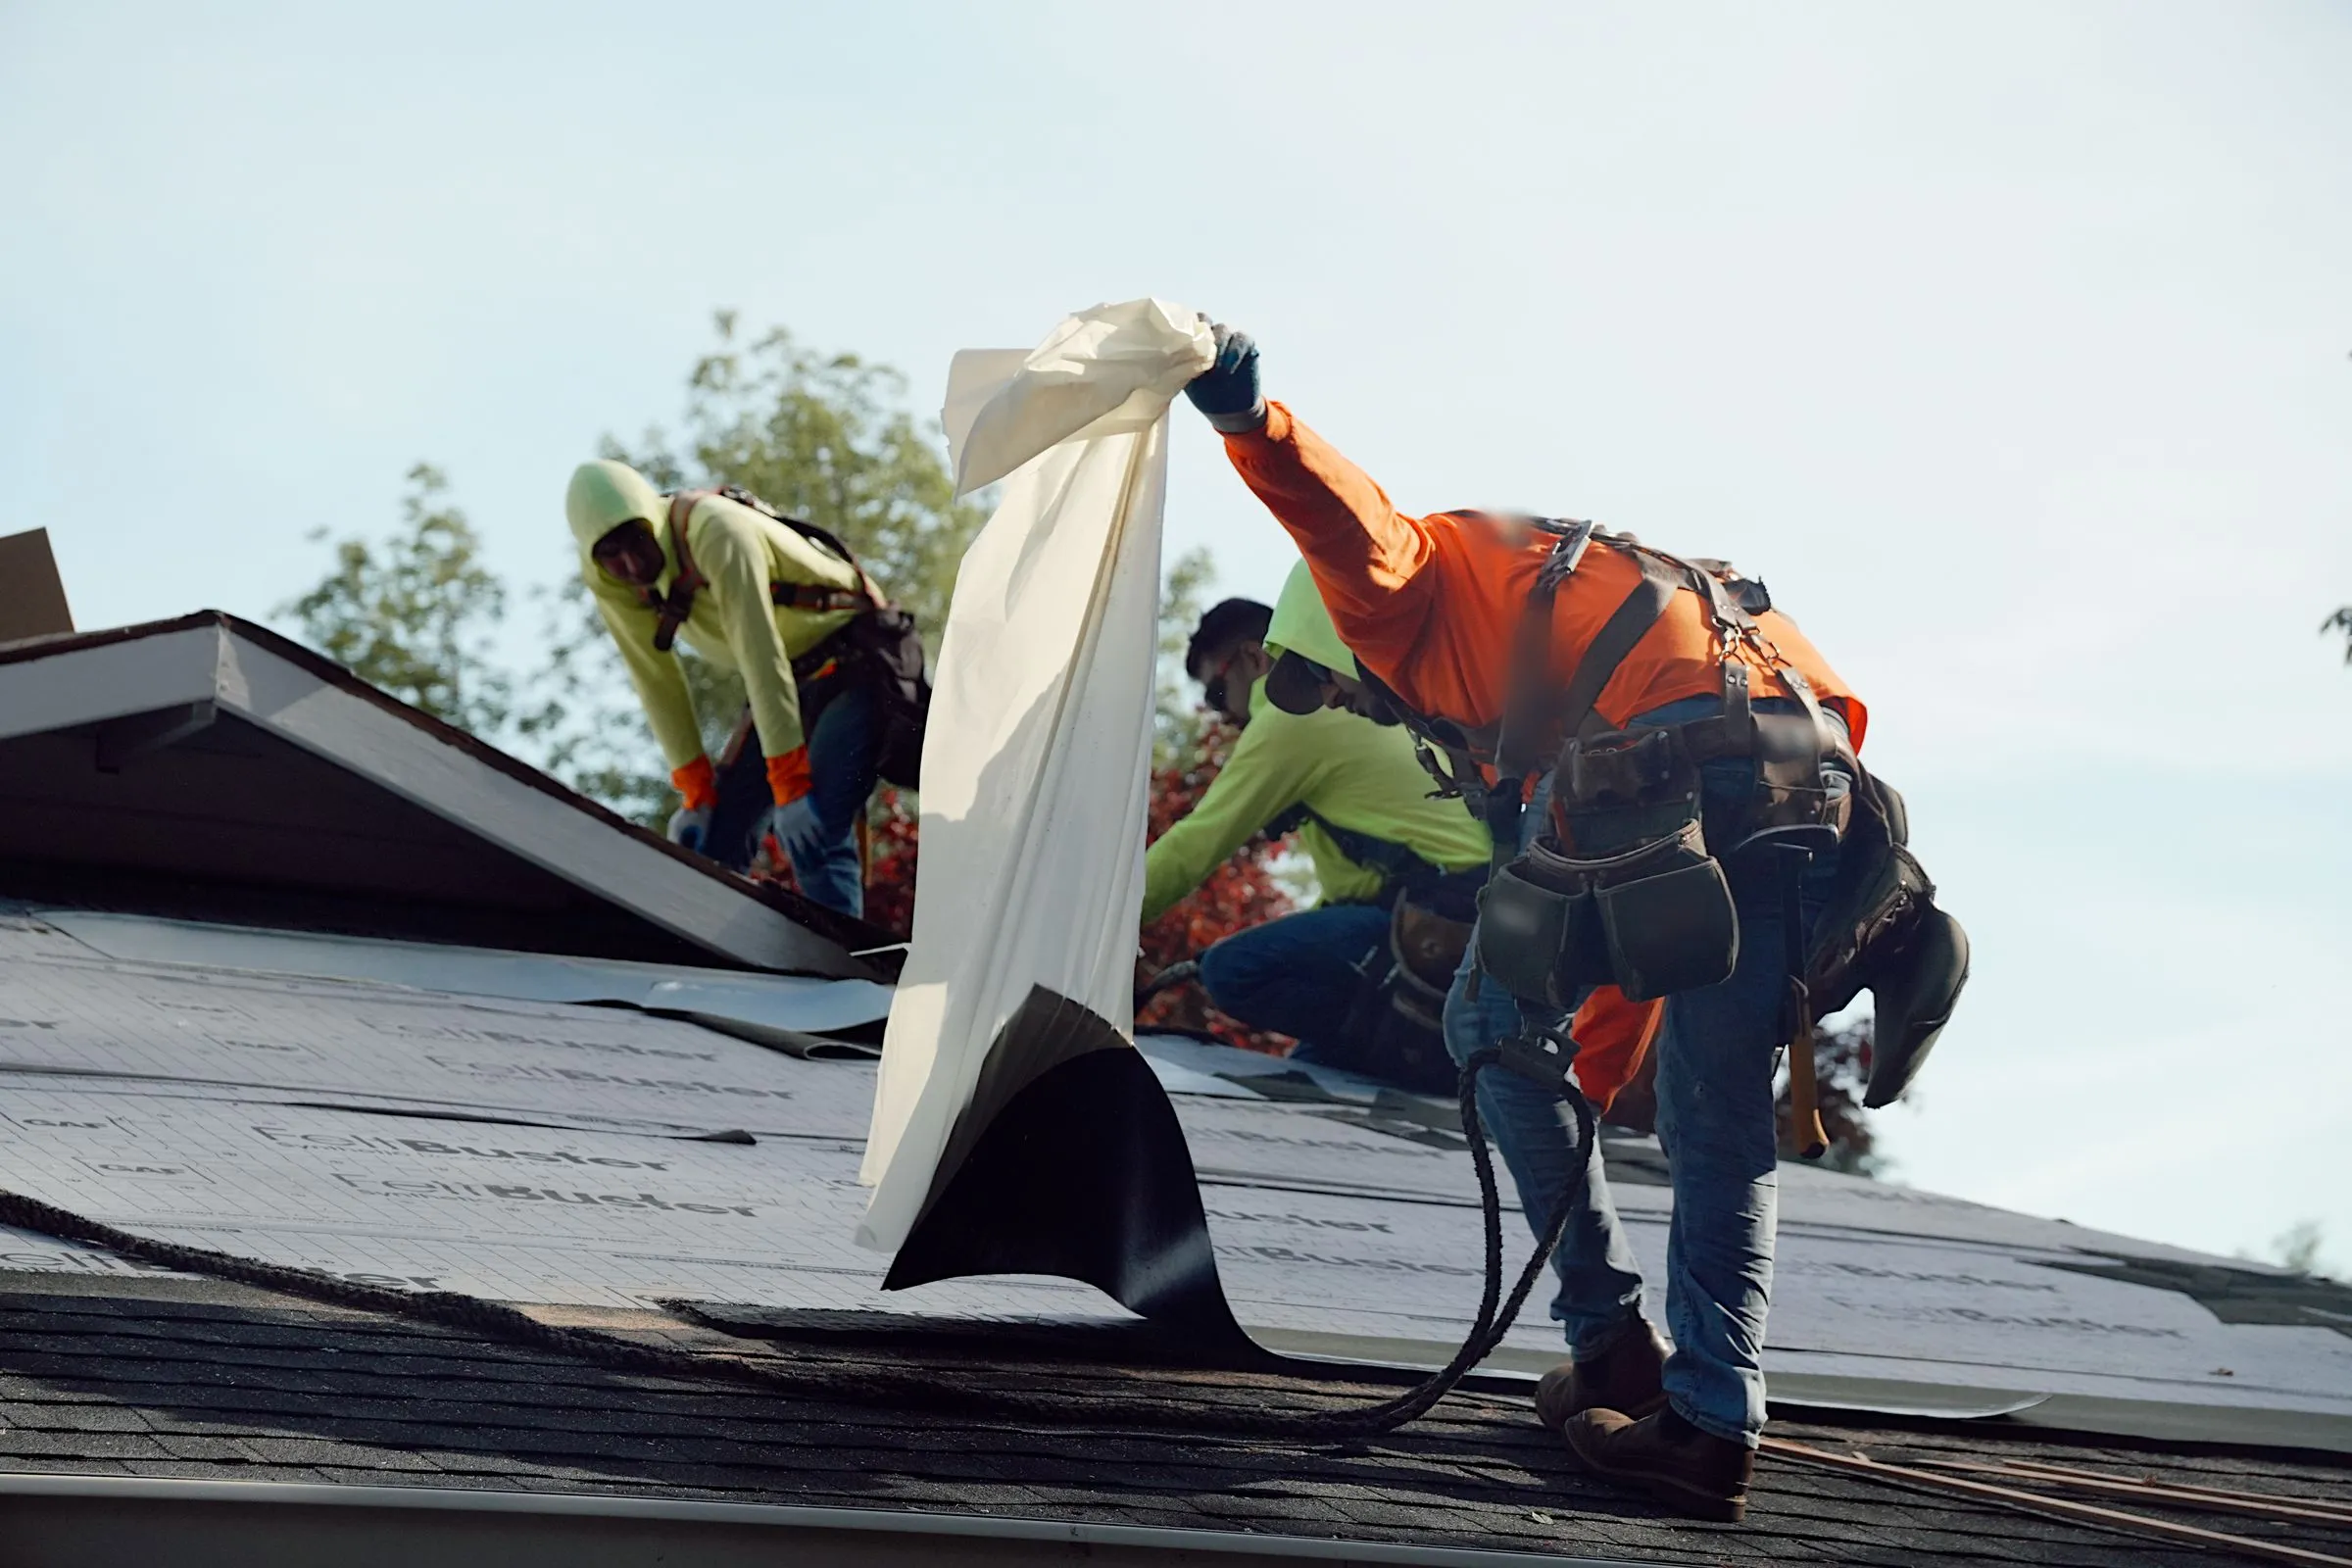
A roof replacement moves from an inspection and written proposal to tear-off, decking repairs, underlayment and flashing, new shingles and ventilation, then cleanup and a final walkthrough. Most standard homes in Portland and Seattle take one to three days of work. Late spring through early fall offers the driest weather, but roofs can be replaced year-round with proper planning.
The Roof Replacement Process at a Glance
- Inspect the roof and define the project.
- Review the proposal and choose materials.
- Schedule the work and prepare your property.
- Remove the existing roofing.
- Inspect the exposed decking and repair damaged sections.
- Install the underlayment, leak barriers and flashing.
- Install the shingles, ventilation and ridge caps.
- Clean up and do a final walkthrough.
- Collect your warranty and project records.
- Plan for ongoing care.
The shingles you see are only part of the job. The layers underneath, the flashing at every transition and the installation details all make up the finished roofing system. The steps below follow a typical asphalt shingle replacement. The exact sequence depends on your roof’s construction, the products chosen, the weather and the agreed scope of work.
Step 1: Inspect the Roof and Define the Project
The process starts with an assessment of your existing roof: its dimensions, layout, visible condition and problem areas. Every Homze roof inspection is free and includes the attic.
Before the visit, list the problems you’ve noticed, such as past leaks, earlier repairs, ceiling stains and spots that keep causing trouble. Share photos or repair records if you have them. Ask the estimator to explain the recommendation plainly: which conditions support replacement, and what can’t be assessed until the old roofing comes off?
Step 2: Review the Proposal and Confirm the Roofing System
Before you schedule installation, make sure the written proposal identifies:
- The roofing manufacturer and shingle product
- The roof areas included
- Removal and disposal of the existing roofing
- Underlayment, flashing and other components
- How existing vents will be handled and any ventilation changes
- How decking repairs will be priced and approved
- Property protection, cleanup and project communication
- Warranty documents and exclusions
- Who is responsible for permits and inspections
Don’t compare proposals by shingle color and total price alone. Ask each company to explain the differences in the work included. Homze installs GAF roofing systems exclusively and includes tear-off and disposal in every quote.
To set a budget before you finalize the scope, start with our roof replacement cost guide. The final proposal should reflect verified measurements and your chosen materials. To get your own price, book a free inspection on our GAF roof replacement page.
Step 3: Schedule the Project and Prepare Your Property
Once the scope is agreed, confirm the installation window, material deliveries and access. Materials often arrive a few days before the crew does, and some may be loaded straight onto the roof. Discuss where the crew can put materials and disposal equipment, and point out landscaping and outdoor fixtures that need care. Before a Homze job starts, we agree with you on where materials, disposal and vehicles go. If you have solar panels or a satellite dish, coordinate any work on them with the provider before roofing begins.
Before installation day, agree on:
- Where vehicles should park
- Which doors and paths will stay open
- Where children and pets can stay away from the work area
- Whether the crew needs access to power or other facilities
- How deliveries will affect the driveway
- Who will answer your questions during the project
Move fragile items away from exterior walls. If you work from home, plan for the disruption and consider another workspace for those days. Give your neighbors a heads-up if deliveries or access could affect them.
Step 4: Remove the Existing Roofing
The crew tears off the old roofing to expose the deck underneath, which lets them examine areas that were hidden under the shingles and underlayment. On a typical house, GAF says tear-off usually takes a few hours. Ask how removal will proceed, how much of the roof will be open at a time and how waste will be collected.
This is a good stage for progress photos. Ask whether your project contact can share images of the exposed deck and anything that needs a decision. For your own look, stay at ground level and use photos rather than entering the work area.
Step 5: Inspect the Decking and Repair Damaged Sections
The decking is the base the whole roof is built on, so its condition matters. A replacement doesn’t automatically require all-new decking, but damaged sections may need attention once the old materials are off. Decking problems can stay hidden until tear-off and may change the original scope. GAF says replacing rotted plywood can add anywhere from a few hours to an extra day.
If damaged wood is found, ask before approving extra work:
- Where is the damage, and can you show me photos?
- What repair or replacement do you recommend?
- Does the original proposal include an allowance?
- What will the additional work cost?
- Will it affect the schedule?
Keep every approved change in writing with your original contract. A documented change order makes the final scope easy to track.
Step 6: Install the Underlayment, Leak Barriers and Flashing
With the deck ready, the crew installs the layers beneath and around the shingles: underlayment, leak barriers in designated spots, edge details, and flashing at transitions and penetrations. Underlayment is a second protective layer under the shingles. Flashing manages water wherever the roof meets a wall, chimney or other feature.
Ask how the crew will handle chimneys, walls, skylights and plumbing vents, and which existing components will be replaced. Most of this work is hidden once the roof is done, so request photos if you want a record.
Step 7: Install the Shingles, Ventilation and Ridge Caps
The crew installs the shingles and related components according to the product instructions. An asphalt shingle system includes starter products, hip and ridge caps, and the specified ventilation components, each with its own job.
Before installation starts, confirm the shingle product and color in your agreement. If a delivery doesn’t match what you approved, tell your project contact right away.
Step 8: Clean Up and Do a Final Walkthrough
Cleanup should cover roofing debris, loose materials and site protection. The contractor should also check the roof edges, penetrations, transitions and visible flashing. Walk the property with your project contact, and ask what was completed, whether anything remains, and how to report a concern after the crew leaves.
Step 9: Collect Your Warranty and Project Records
Ask for the manufacturer warranty information, the contractor’s workmanship warranty, your final payment documents, and any photos or inspection records. Warranty terms can depend on the product, the installation, registration and the work covered by your agreement. Store everything together; you’ll want it if you sell the home or have a warranty question.
GAF’s enhanced warranties are registered by the contractor. GAF’s sample Silver Pledge™ warranty says the contractor must register it within 45 days of installation, and that you should call GAF if you haven’t received it within 60 days. Our guide to roofing warranties explains what each one covers.
Step 10: Plan for Ongoing Care
Keep gutters and drainage paths clear, trim branches that can touch the roof, and look for changes after severe weather. Don’t walk on the roof. Have it looked at professionally if you notice missing or damaged shingles, exposed flashing or water stains, and follow the maintenance guidance that comes with your roofing system.
How Long Does a Roof Replacement Take?
Most residential roof replacements in Portland and Seattle take one to three days. GAF says an asphalt shingle roof on an average-sized home can often be replaced in one to two days.
A typical timeline:
- Day 1: Protect the property, stage materials, tear off the old roof and inspect the decking.
- Day 2: Make approved deck repairs, then install the underlayment, flashing and roofing.
- Day 3, if needed: Finish the details, clean up and do the final inspection.
Roof size, pitch and number of levels, layers to remove, decking condition, penetrations, heavy moss and material availability can all add time. GAF notes that roofs steeper than about 8:12 need specialized safety equipment and go slower, and that roofs with many planes, angles and penetrations take longer because more shingles have to be cut.
What Is the Best Time of Year to Replace a Roof?
In Portland and Seattle, late spring through early fall offers the driest, most predictable weather. In Portland, National Weather Service normals for the airport show about half an inch of rain in each of July and August, against more than 5 inches in November and December. Each season has trade-offs:
| Season | Pros | Cons |
|---|---|---|
| Spring (April to June) | Improving weather, easier scheduling than summer, a good time to fix winter damage | Occasional rain delays, growing demand |
| Summer (July to September) | Driest weather, fastest completion | Peak demand, so book early |
| Early fall (September to October) | Mild temperatures, fewer scheduling conflicts than summer, ready before winter | Narrow weather window before steady rain returns |
| Winter (November to March) | Still possible when weather allows safe installation and crews use moisture protection | Limited dry windows, not ideal |
In peak season, book early to get your preferred dates. Planning early also lets you compare materials and warranties, arrange financing and avoid an emergency replacement in the rainy season. If your roof is actively leaking, don’t wait for better weather: deal with it right away to prevent interior damage.
Frequently Asked Questions
Should I Stay Home During a Roof Replacement?
You can. The work happens outside, but expect loud hammering and vibration, especially during tear-off, plus trucks and a dumpster in the driveway. If you work from home or have babies or noise-sensitive pets, plan to be somewhere else for at least part of the first day. Keep pets indoors or away from the house so they don’t step on stray nails.
How Do I Prepare My Home for a Roof Replacement?
Nailing shakes the whole house, so take down mirrors, pictures and shelves, especially on the top floor, and keep breakables from touching each other or the walls. The attic collects the most dust, so move fragile things out of it and cover what stays. Outside, move cars out of the driveway the night before, clear patio furniture and pots away from the walls, open the gates and mow the lawn so stray nails are easier to find.
Will My Old Roof Be Removed or Covered Over?
With Homze, it’s removed. Every Homze roof is a full tear-off and replacement, and the quote includes disposing of the old roof. Tearing off is what lets the crew see the decking and fix any rot before the new roof goes on.
What Happens If It Rains During a Roof Replacement?
Crews watch the forecast, keep the open roof covered and pause when conditions aren’t safe. If rain is expected in the afternoon, the crew may finish part of the roof and come back the next day, and on cold mornings frost can push the start later. Ask for a written schedule and how weather changes will be communicated.
Do I Need a Permit to Replace My Roof?
It depends on the city. The City of Portland says reroofing a house with a material of similar weight doesn’t need a building permit, but reroofing a townhouse or a home in a wildfire zone, or adding solar roof panels, does. The City of Seattle doesn’t require one for one- and two-family homes and townhouses when nothing in the building envelope changes beyond insulation. Nearby cities set their own rules, so get the answer in writing from your contractor.
Ready to See What Your Project Would Cost?
Book a free in-home estimate for a written quote. No pressure, no obligation.